
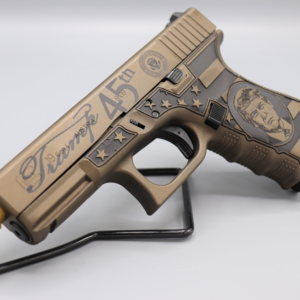
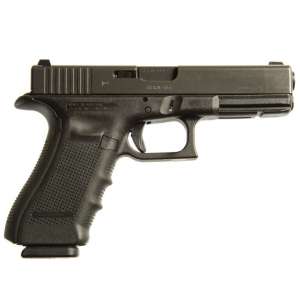
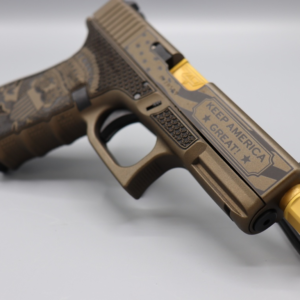
KNOW YOUR FIREARM


Original price was: $ 799.0.$ 549.0Current price is: $ 549.0.
16 in stock
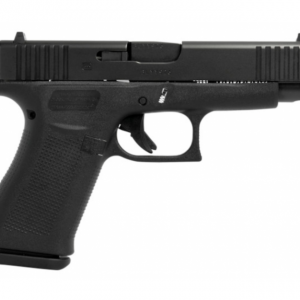
| SKU | 31300298 |
|---|---|
| UPC | 706397932459 |
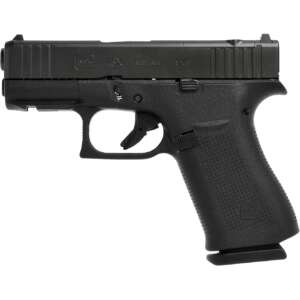
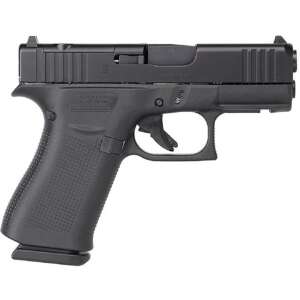
| BRAND | Springfield |
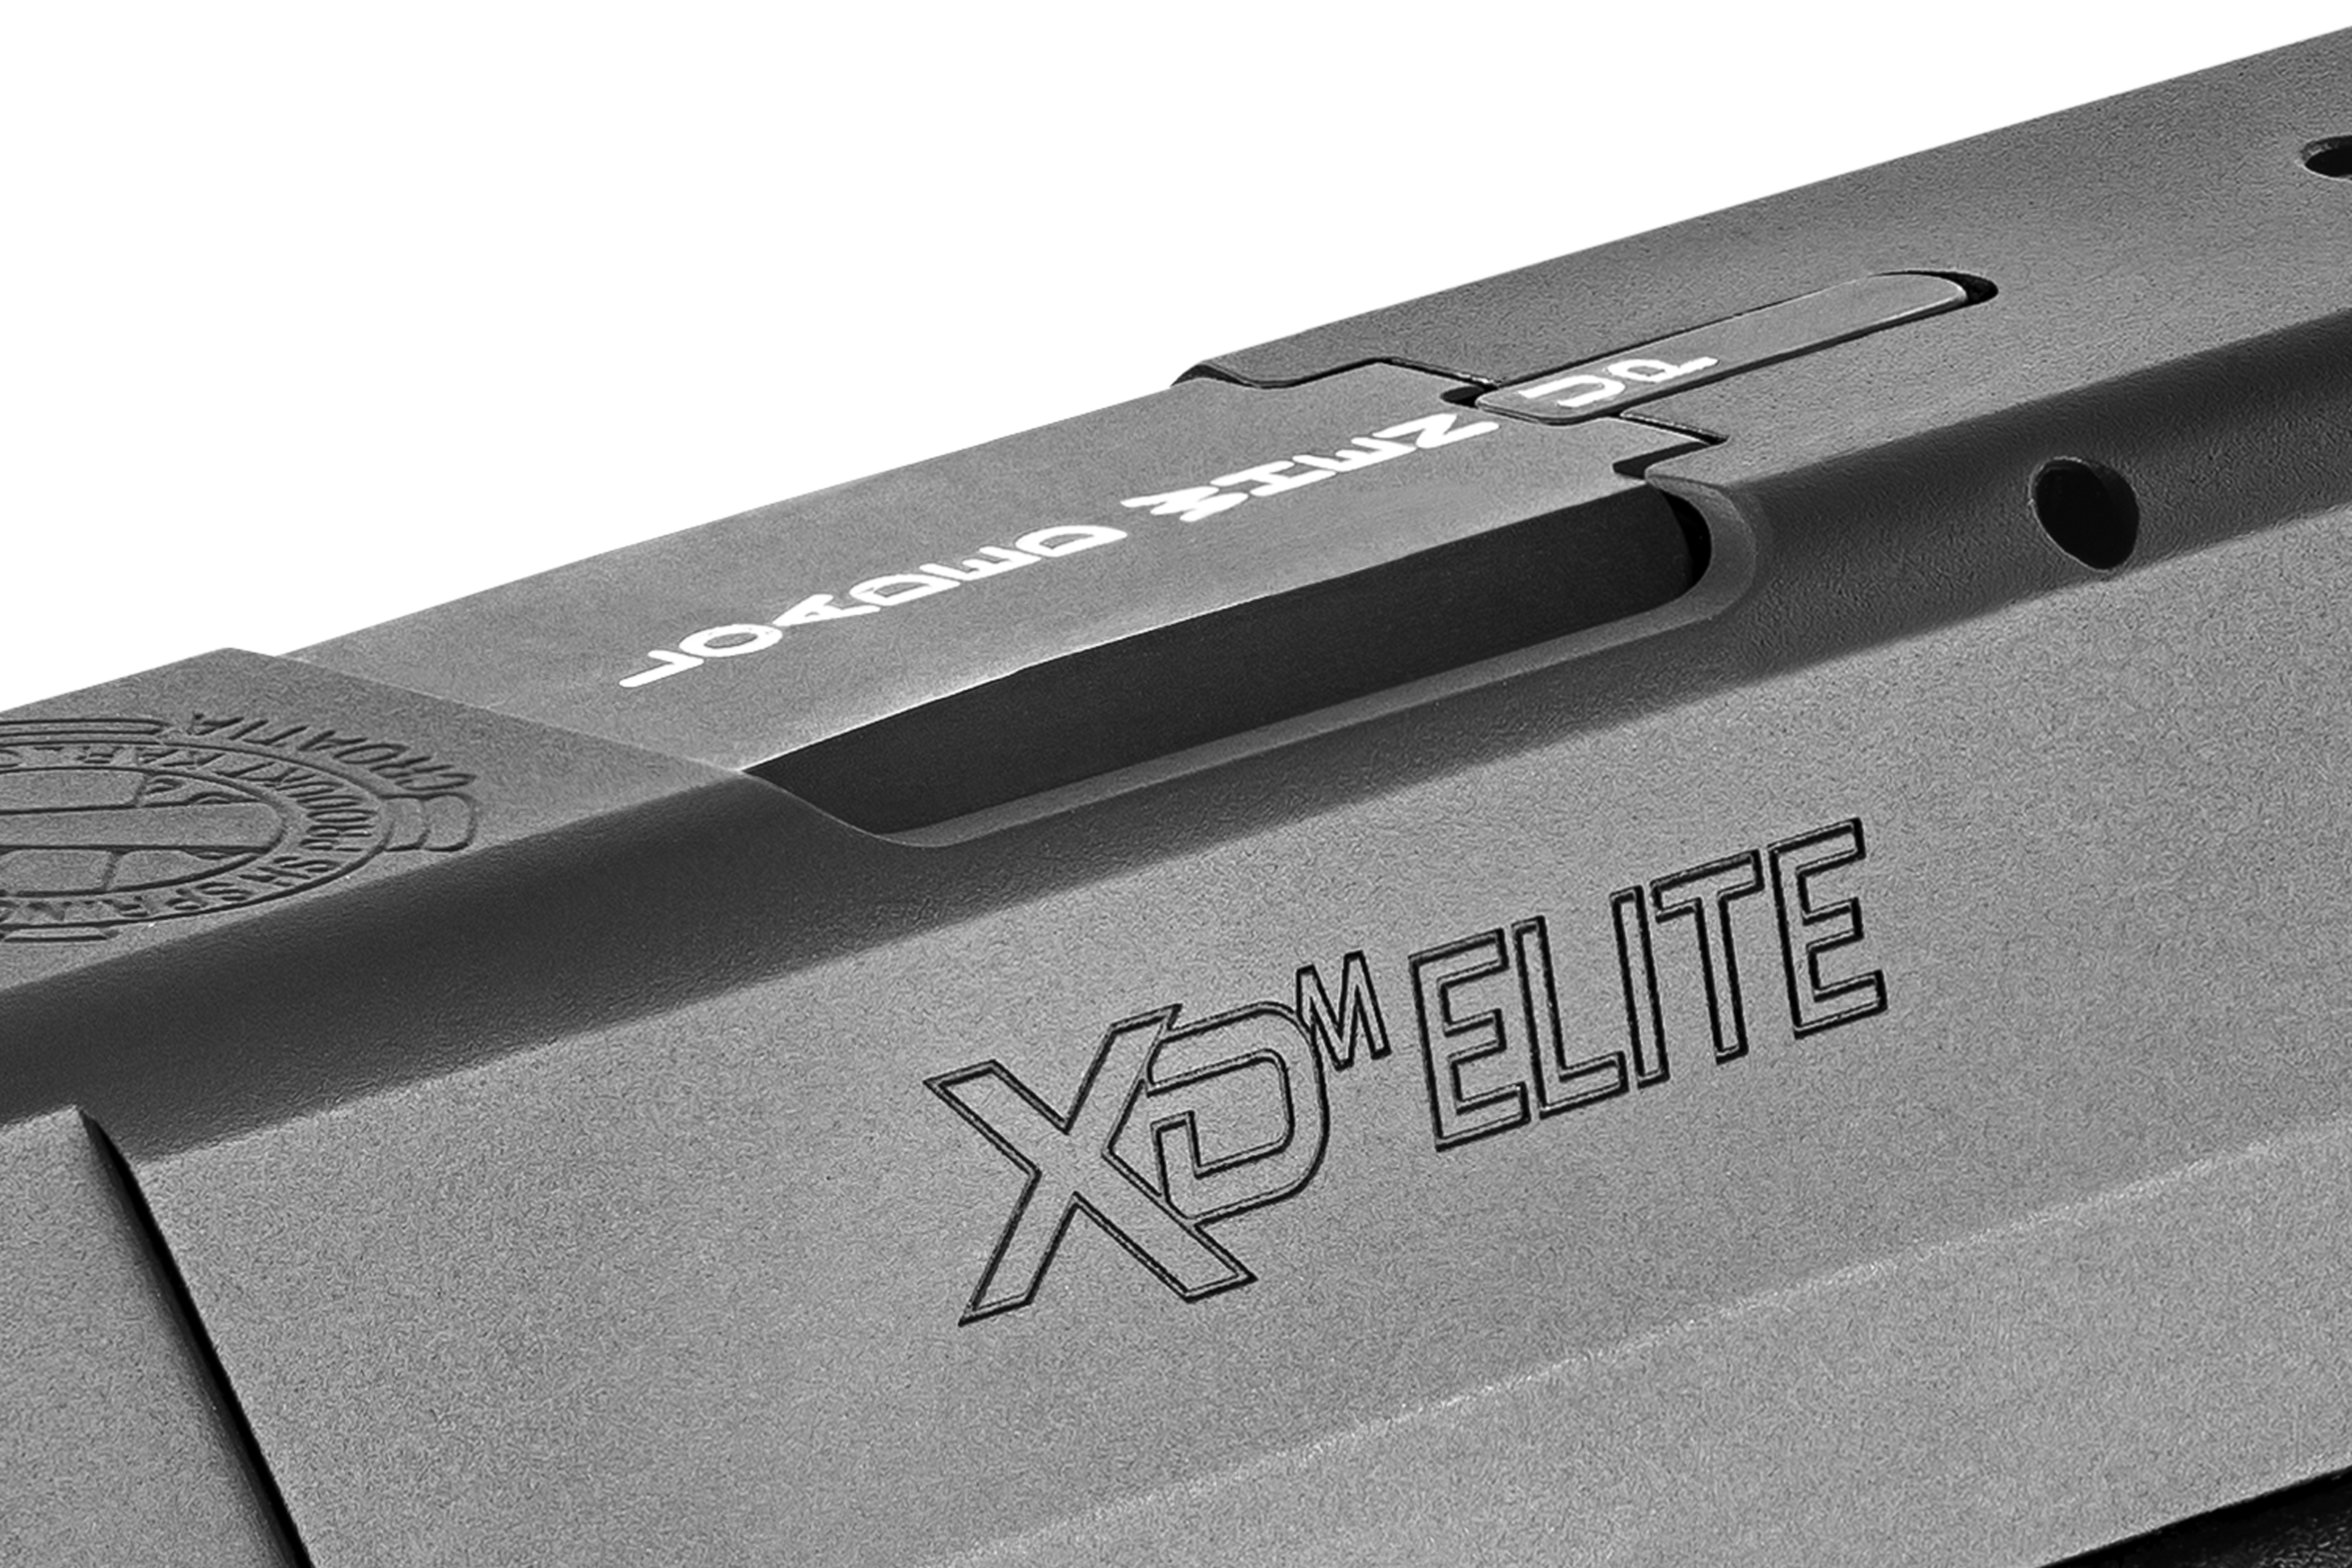
| MODEL NAME | XD-M Elite |
| MPN | XDME9459BHC |
| CALIBER | 9mm |
| CLASS | Full-size |
| CAPACITY | 20+1 |
| BARREL LENGTH | 4.5″ |
| LENGTH | 7.6″ |
| WEIGHT | 29oz |
| SIGHTS | Fiber Optic Front, Tactical Rack U-Dot™ Rear |
| GRIP | Standard |
| TRIGGER | Standard |
| SAFETY | Grip Safety |
| FINISH | Melonite |
| CONDITION | New in Box |

– Material and Length:
The Xdm Elite 9mm features a hammer-forged steel barrel, available in various lengths (3.8″, 4.5″, and 5.25″). The longer barrels generally offer better accuracy and higher muzzle velocity.
– User Experience:
The barrel’s quality ensures durability and precision, making it suitable for both self-defense and competitive shooting.

– Design:
The slide is made from forged steel with a Melonite finish, providing corrosion resistance and durability. It also features enhanced serrations for better grip during operation.
– User Experience:
The slide’s design allows for smooth and reliable cycling, contributing to the pistol’s overall reliability.

– Capacity:
The XD-M Elite 9mm comes with high-capacity magazines, typically holding 20+1 or 22+1 rounds.
– User Experience:
The high capacity reduces the need for frequent reloading, which is advantageous in both defensive and competitive scenarios.
– Mechanism:
The XD-M Elite uses a dual recoil spring system, which helps manage recoil and improve shooting comfort.
– User Experience:
This system reduces felt recoil, allowing for quicker follow-up shots and better control.
– Ergonomics:
The grip features interchangeable backstraps to fit different hand sizes, and the texture provides a secure hold.
– User Experience:
The customizable grip ensures comfort and control, enhancing accuracy and reducing fatigue during extended use.
– Ammunition:
The XD-M Elite is chambered in 9mm Luger, a popular and widely available caliber known for its balance of power and manageable recoil.
– User Experience:
The 9mm Luger offers a good balance of stopping power and controllability, making it suitable for a wide range of users.
– Size and Weight:
The compact models of the XD-M Elite are designed for concealed carry, with a balance of size and capacity.
– User Experience:
These models are easy to carry discreetly while still providing ample firepower.
– Design:
The grip includes finger grooves and a textured surface for a secure hold.
– User Experience:
This design enhances grip stability, especially during rapid fire.
– Customization:
The interchangeable backstraps allow the grip to be adjusted to fit various hand sizes.
– User Experience:
This feature ensures that the pistol can be comfortably and securely held by users with different hand sizes.
– Type:
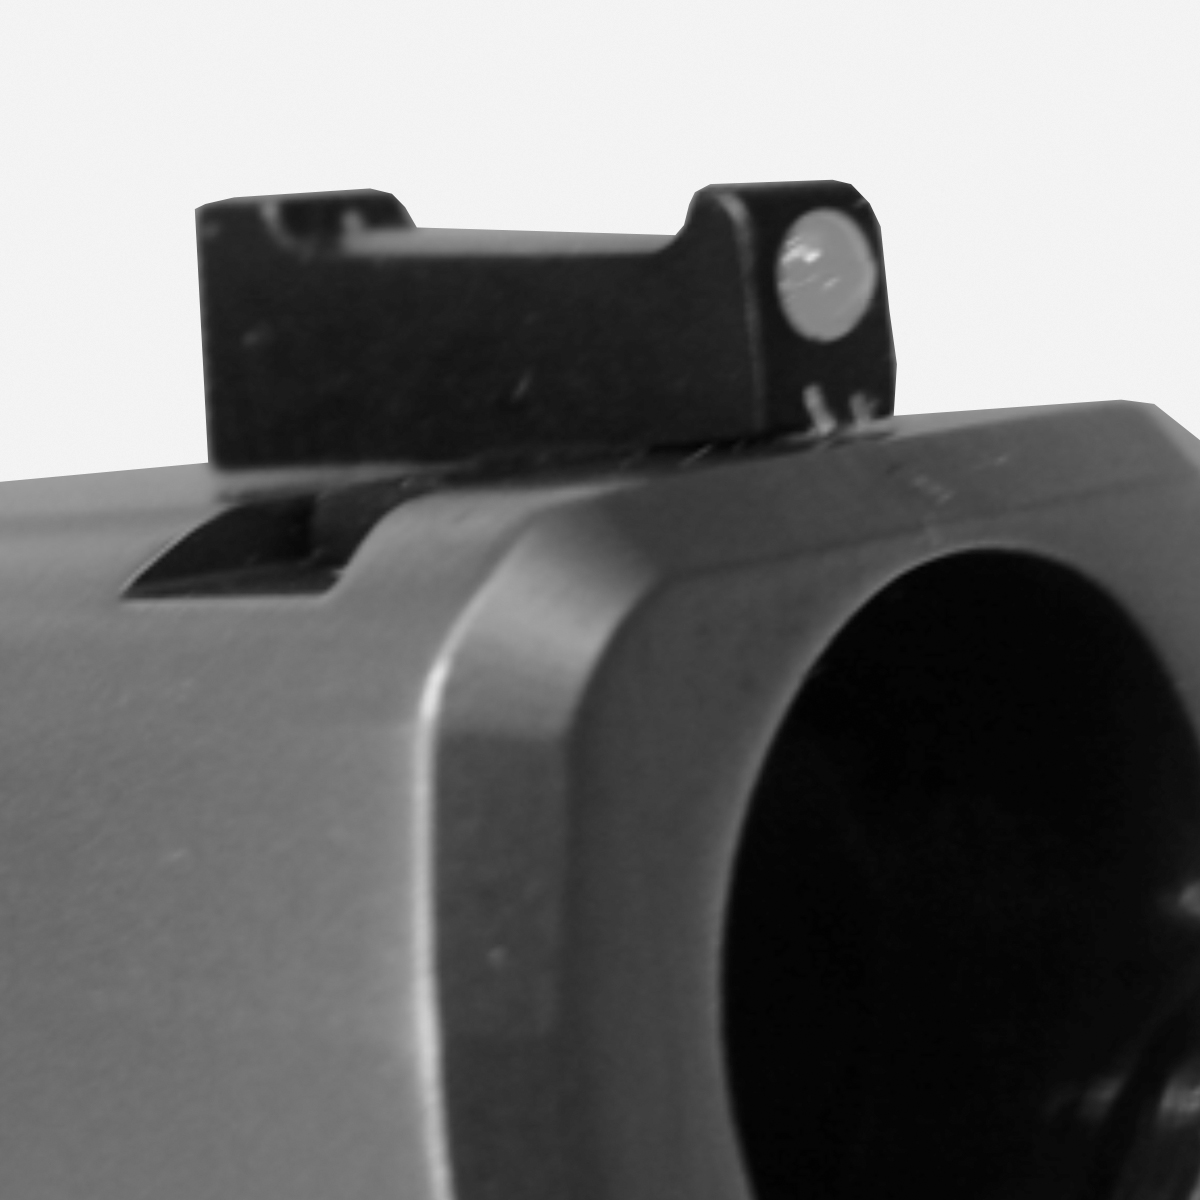
The XD-M Elite typically comes with fixed iron sights, with some models offering fiber optic front sights for better visibility.
– User Experience:
The fixed sights are durable and reliable, providing consistent aiming points.
– Feature:
The pistol includes a Picatinny rail for mounting accessories such as lights and lasers.
– User Experience:
This rail allows users to customize their pistol with tactical accessories, enhancing its versatility.
The XD-M Elite 9mm is designed to offer a high level of performance, reliability, and customization. Users generally appreciate its ergonomic design, high capacity, and the ability to tailor the grip to their preferences. The combination of a refined trigger, manageable recoil, and durable construction makes it a popular choice for both self-defense and competitive shooting.

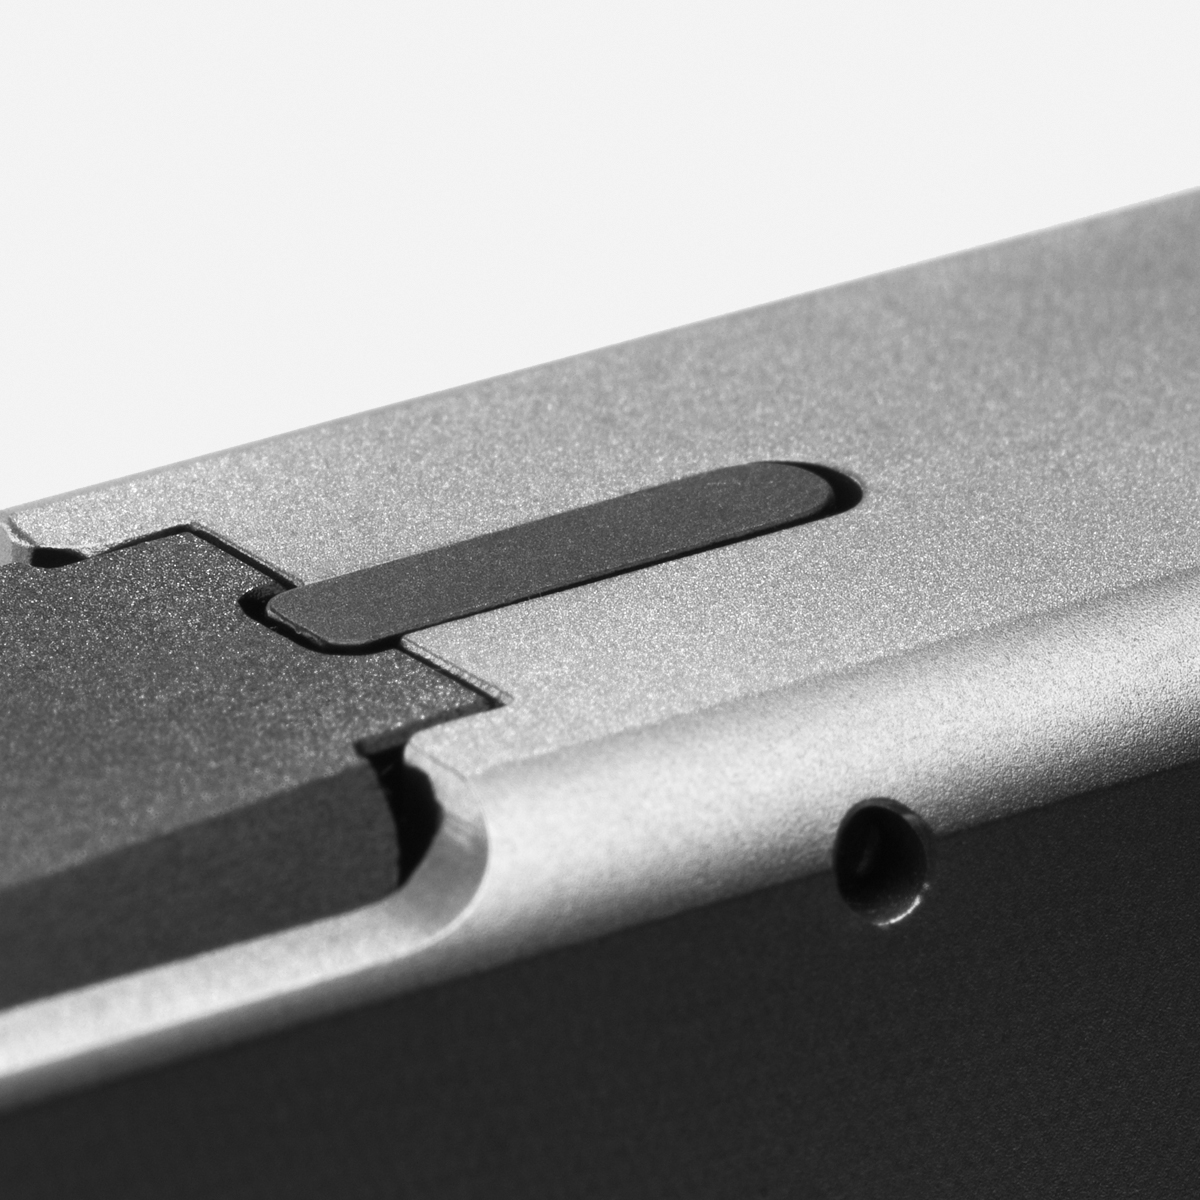
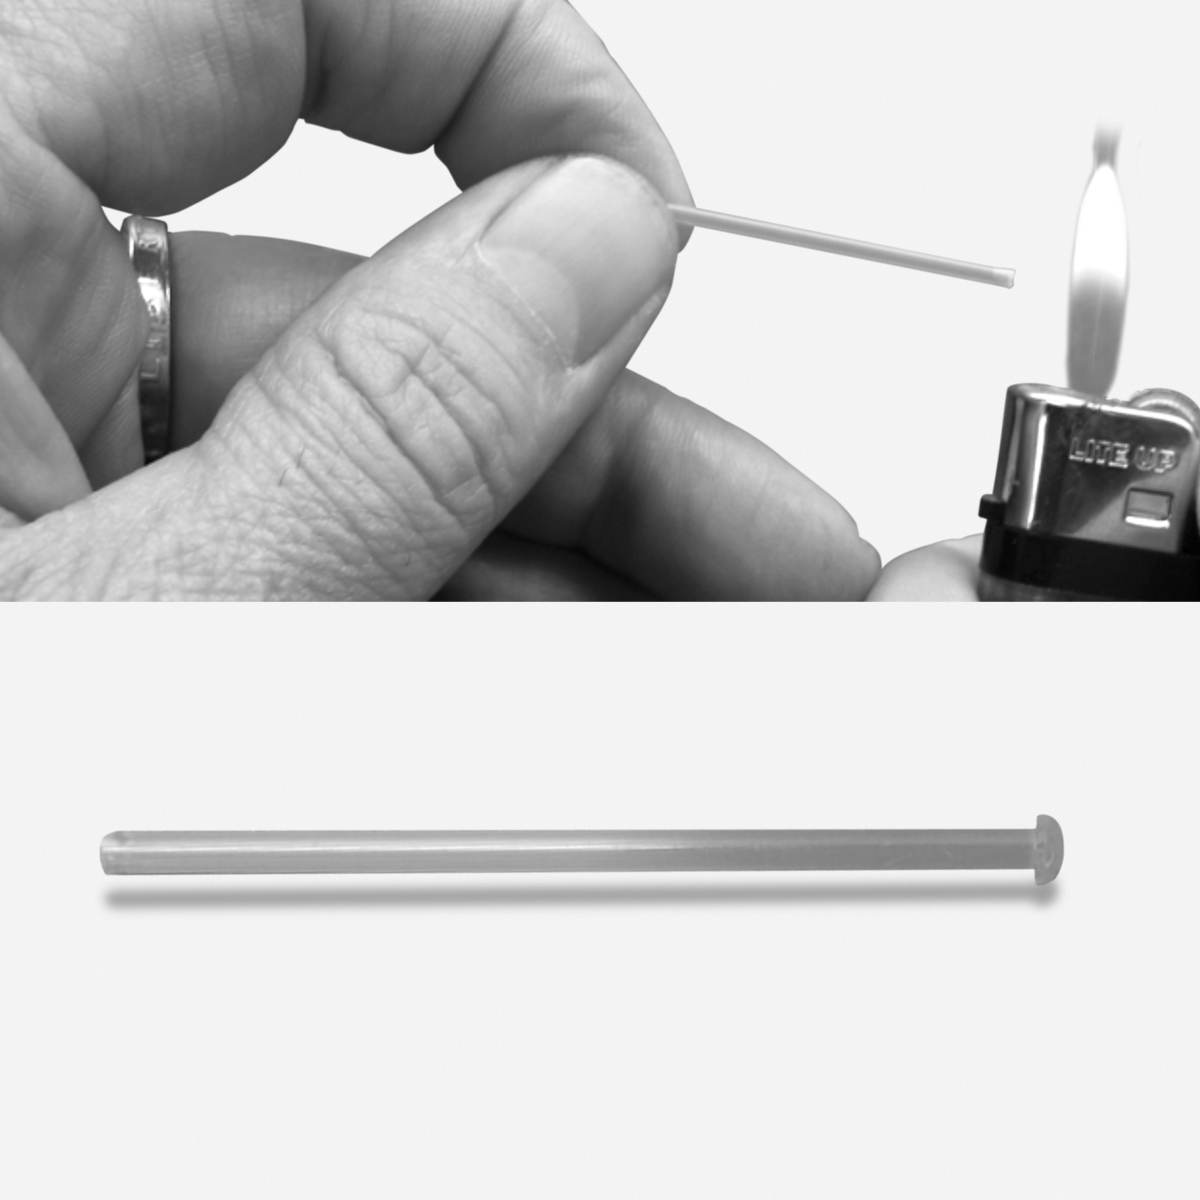
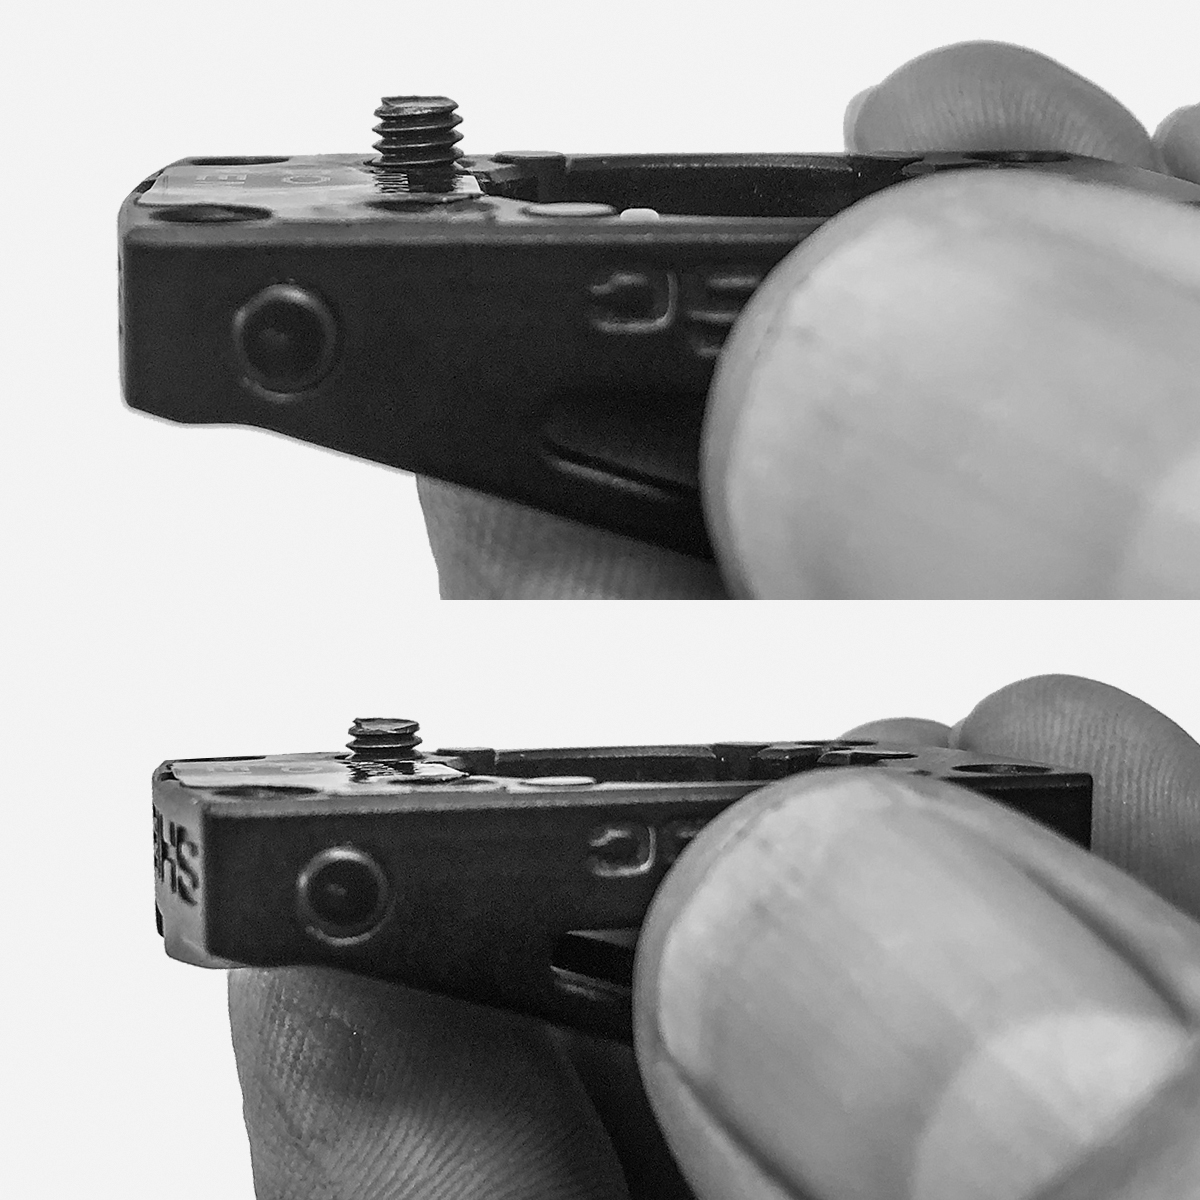
Your XD-M® firearm has a loaded chamber indicator (Figure 12-1). The indicator allows you to observe whether a cartridge is in the chamber. When a cartridge is in the chamber the indicator raises above the barrel (Figure 12-2). When the loaded chamber indicator is up, the firearm is loaded and is ready to fire.
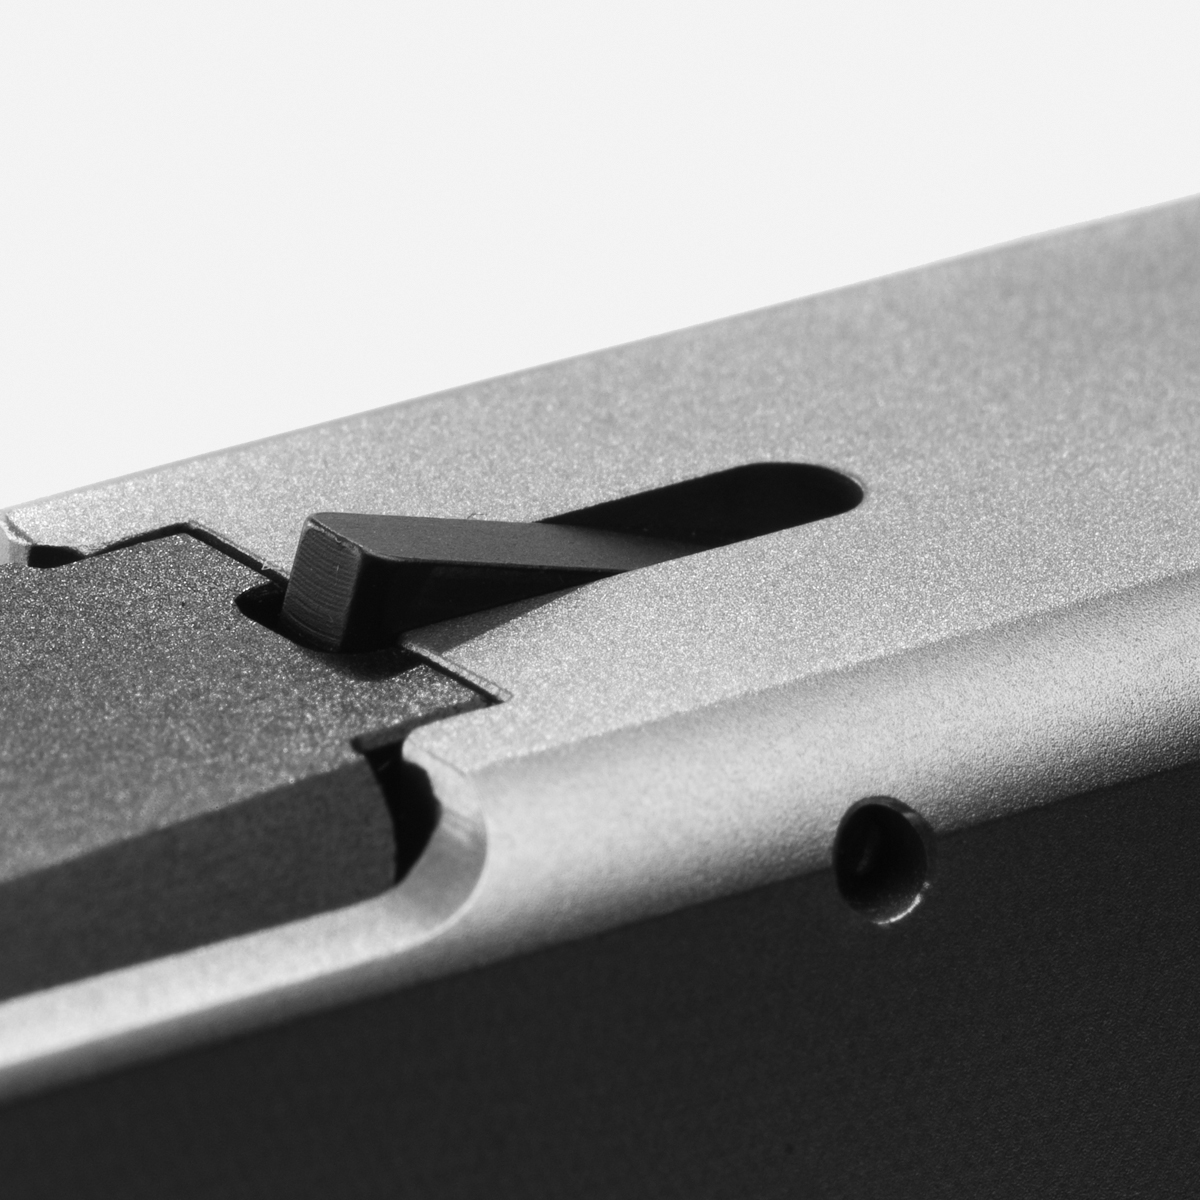
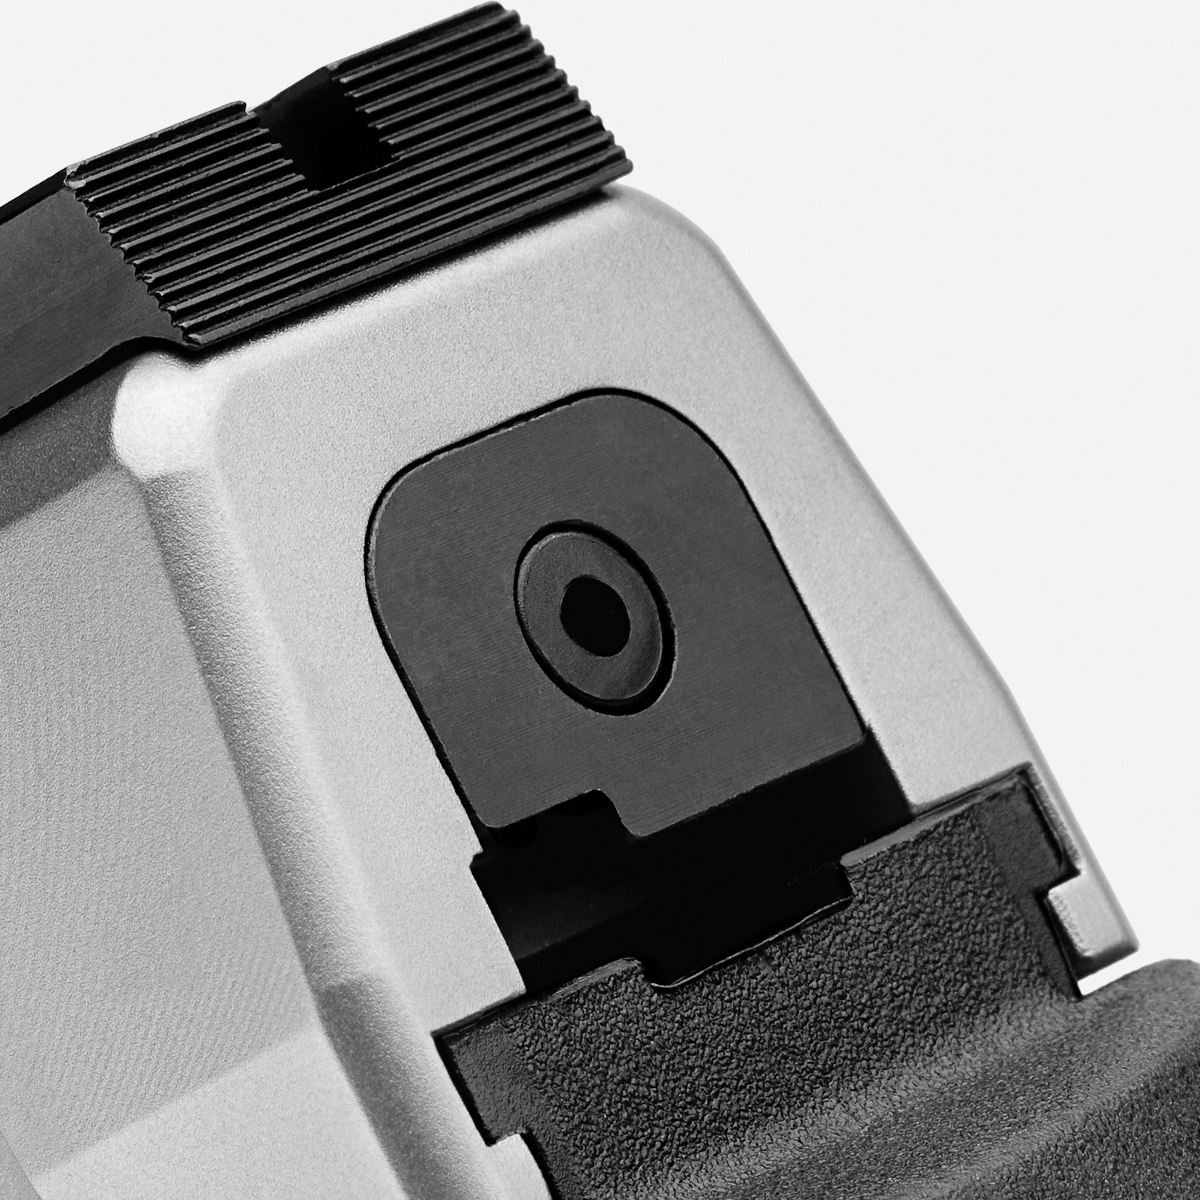
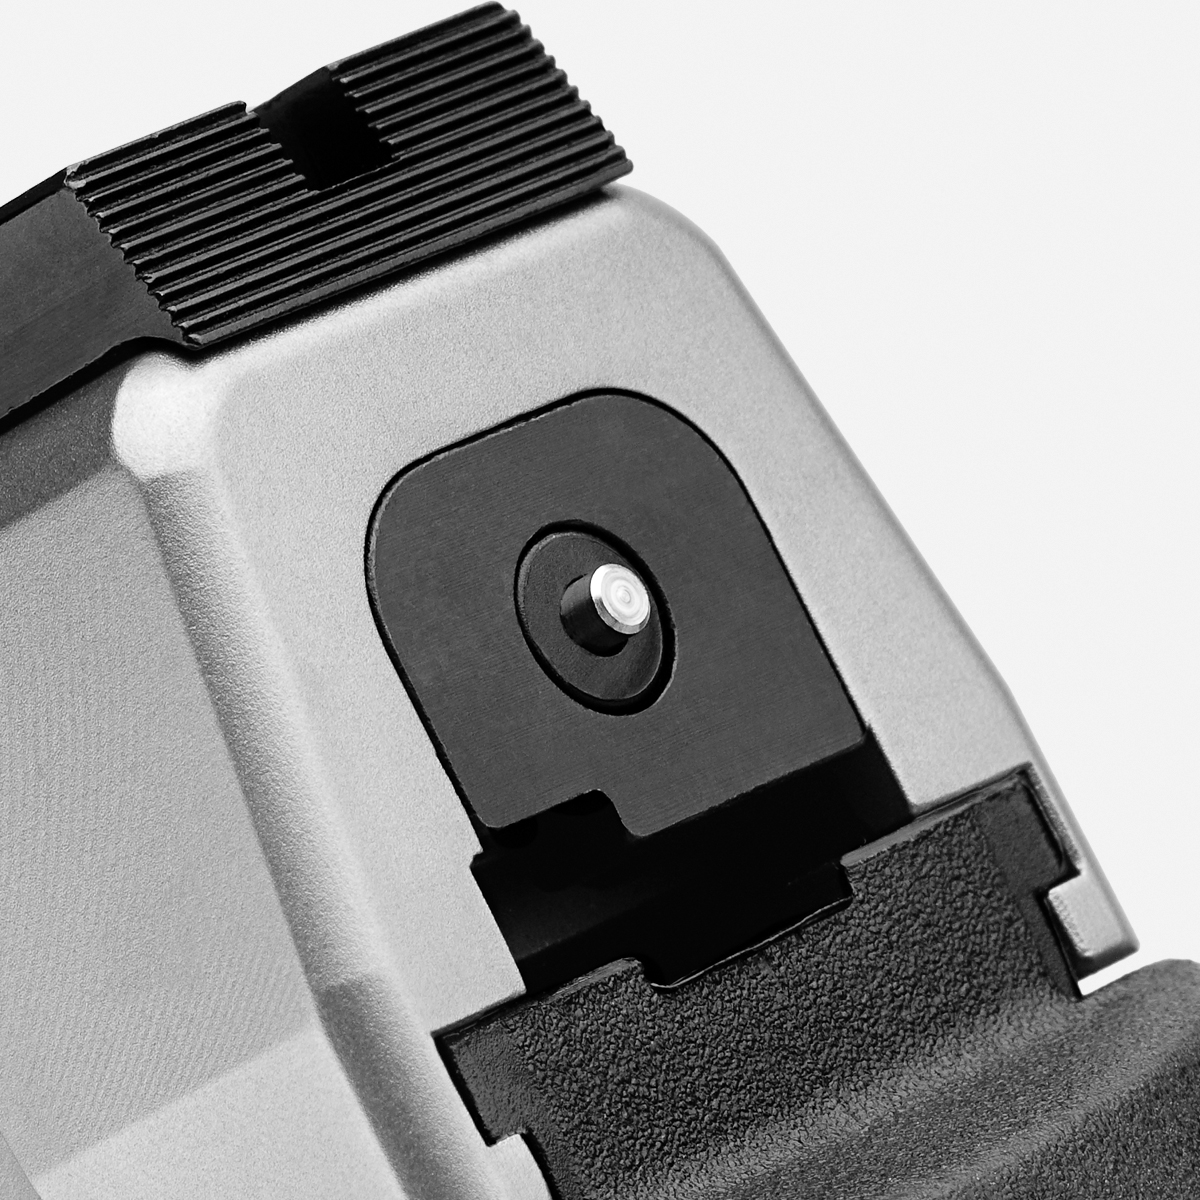
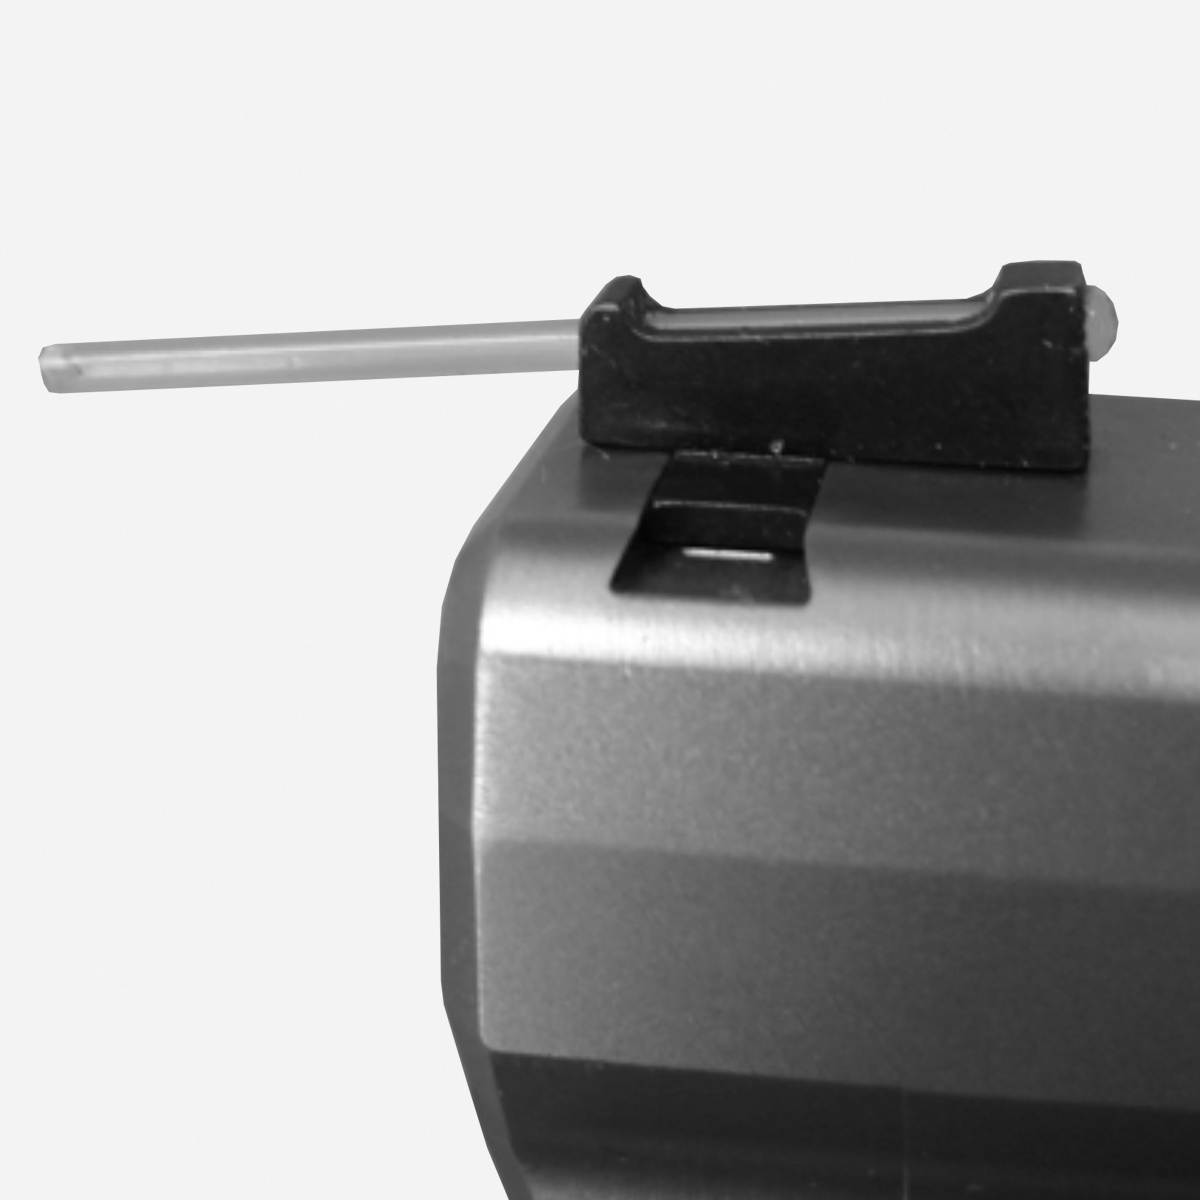
Your XD-M® firearm has a cocking indicator in the rear of the slide (Figure 13-1). When the firearm is cocked, the pin will protrude out of the rear of the slide (Figure 13-2). (The cocking indicator does not always mean that the firearm is loaded). However, when the pin is out, always treat the firearm as if it is loaded. Only the Loaded Chamber Indicator will show if the firearm is loaded (See Page 12).
WARNING: Never trust a safety. Always assume the firearm is loaded.
WARNING: Even though the chamber is empty there may be cartridges in the magazine. The firearm is not completely unloaded until the magazine is removed and the chamber is empty.
NOTE: Use a flat sturdy platform. Make sure holes are aligned correctly.
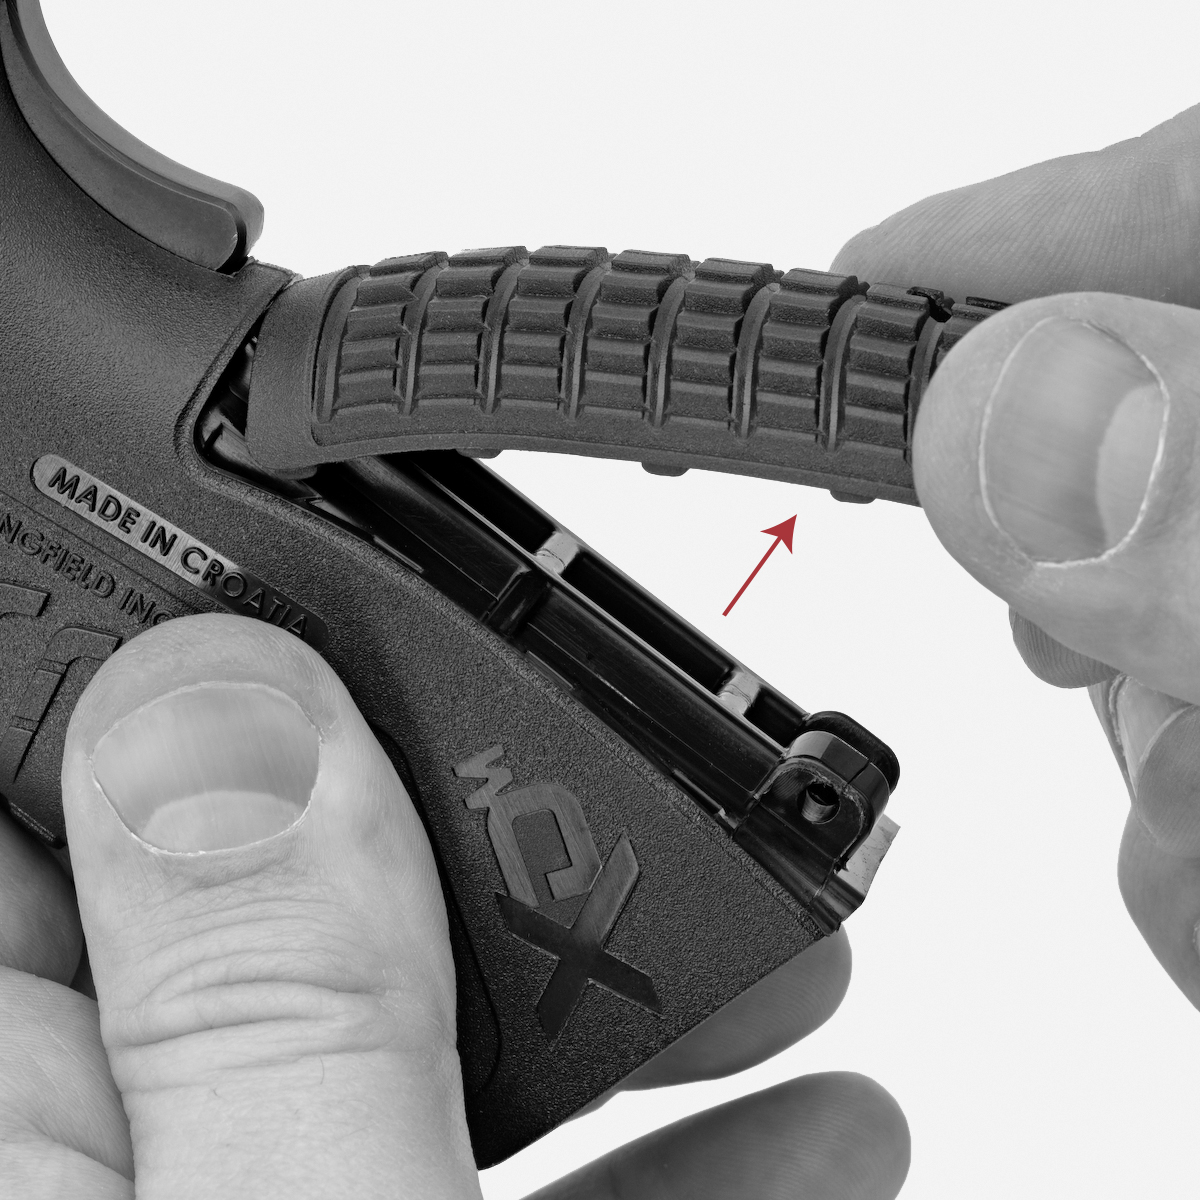

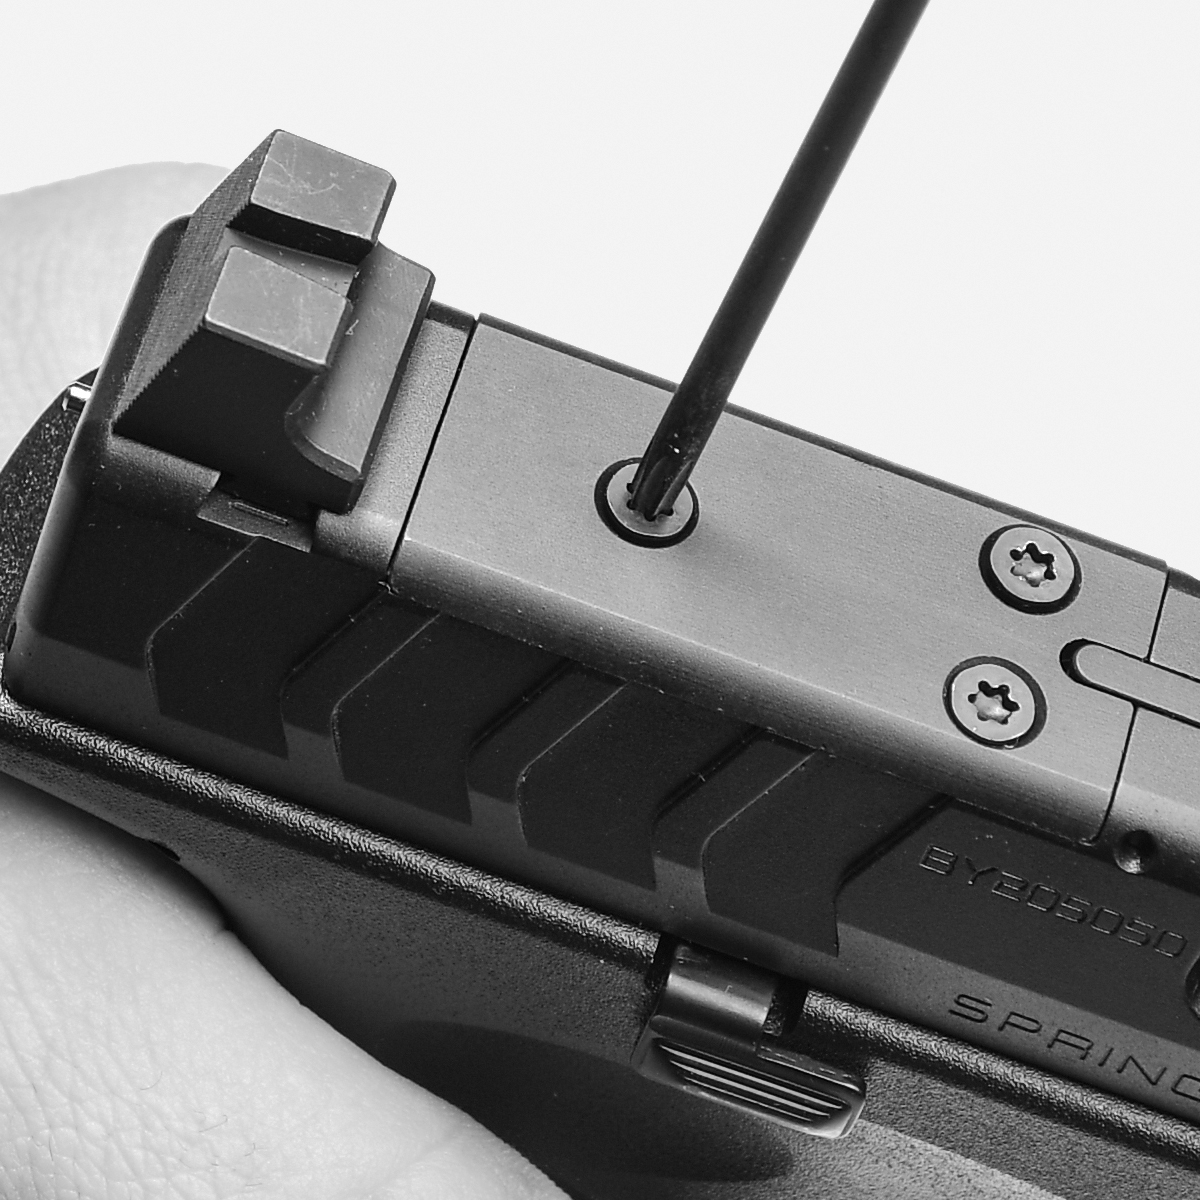
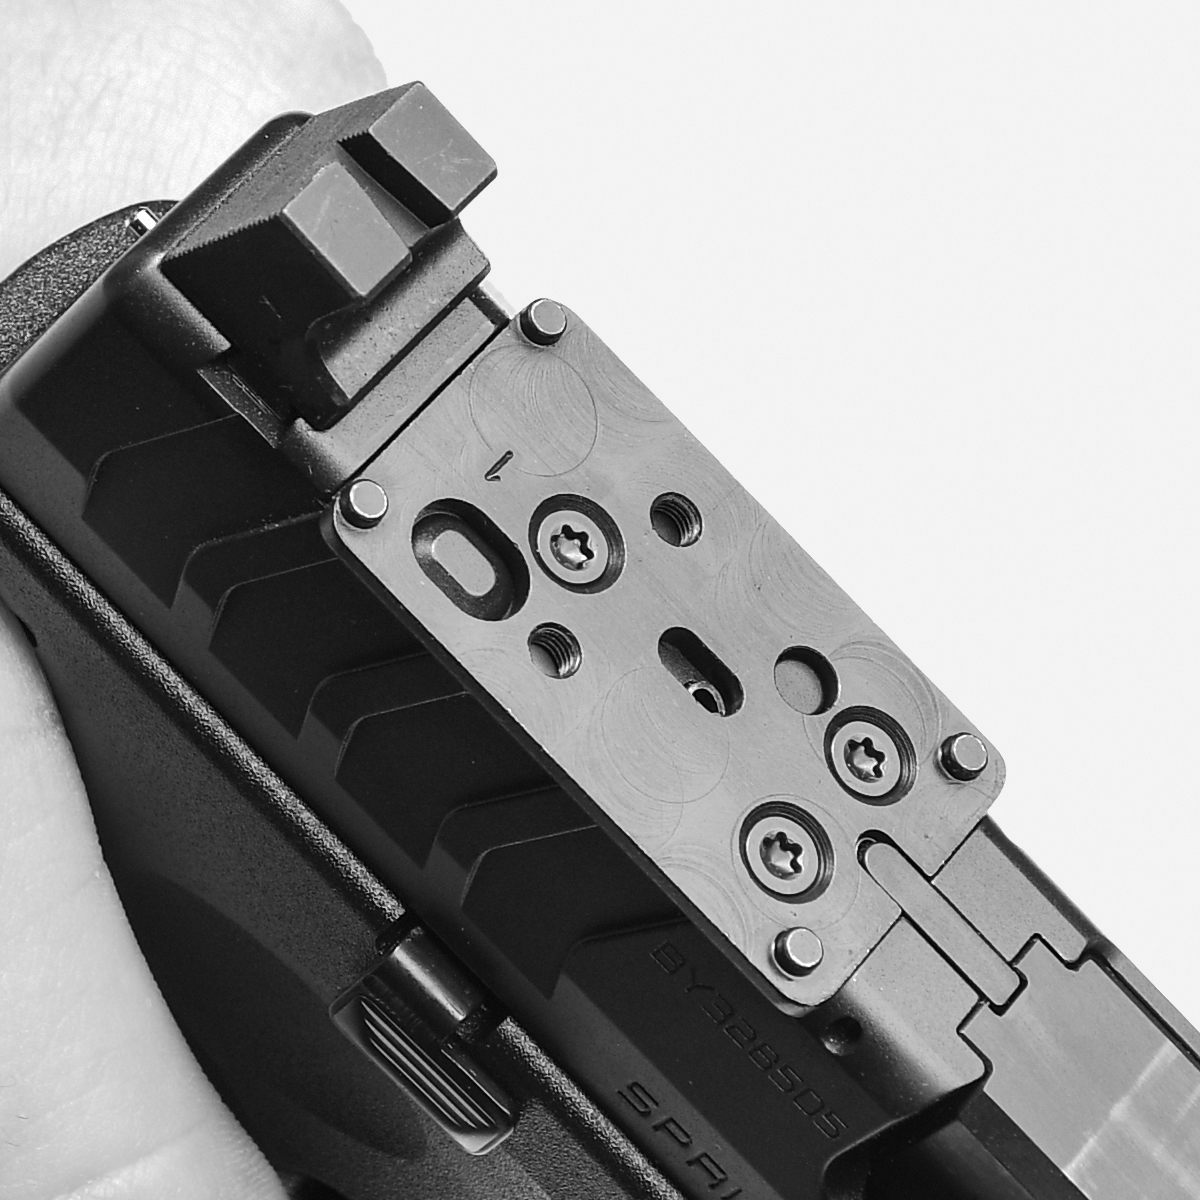
Your OSP™ Pistol can be easily configured to accept a variety of red dot sights by removing the filler plate and installing the correct mount for your sight application.
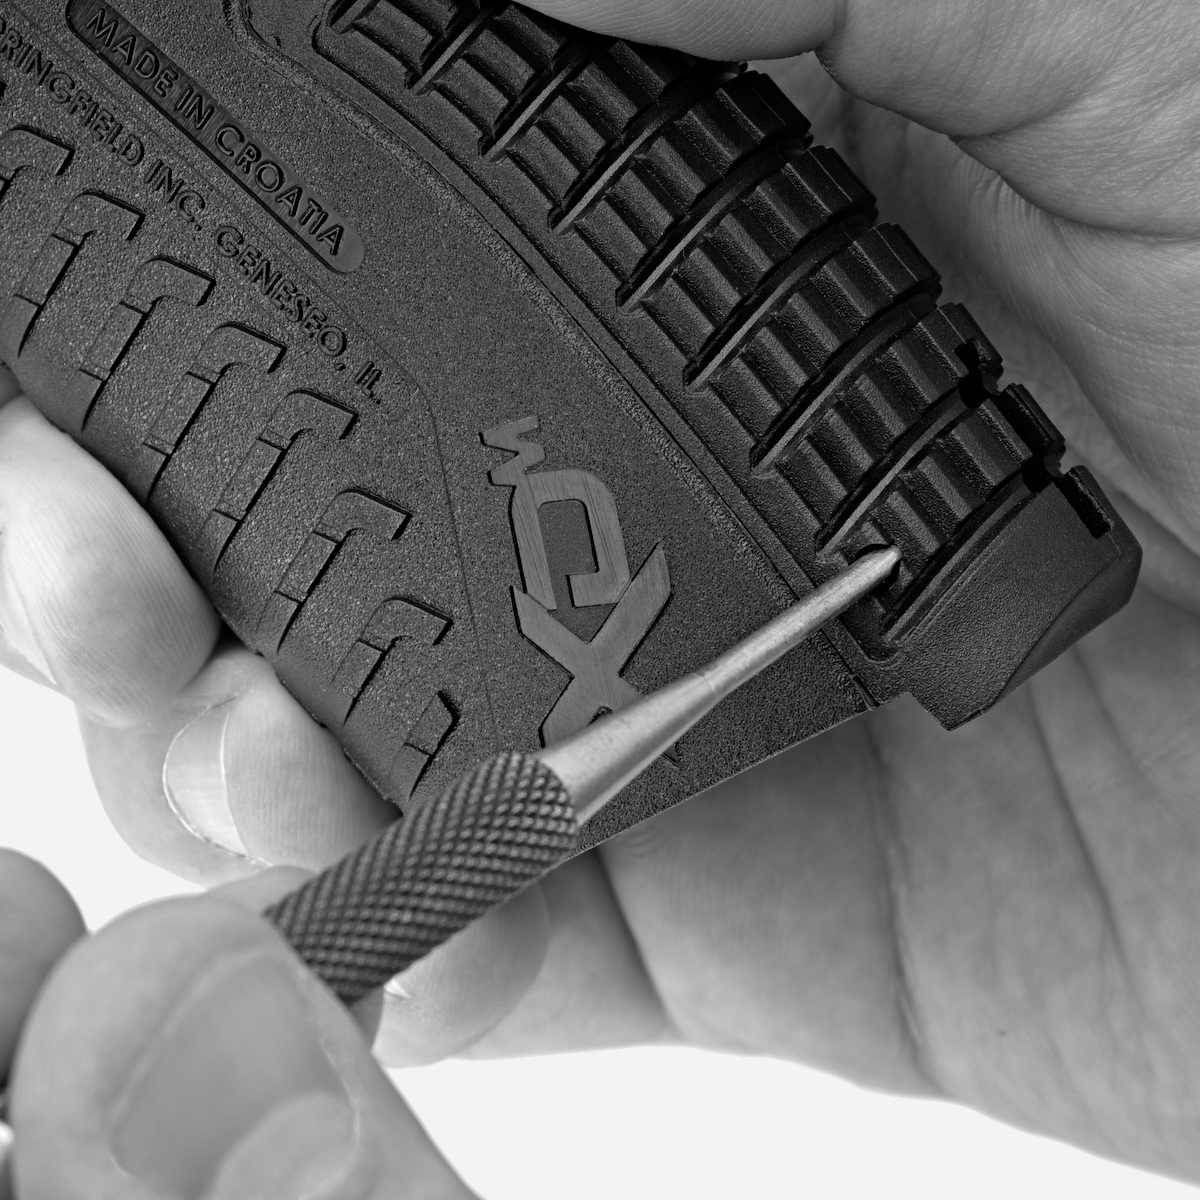
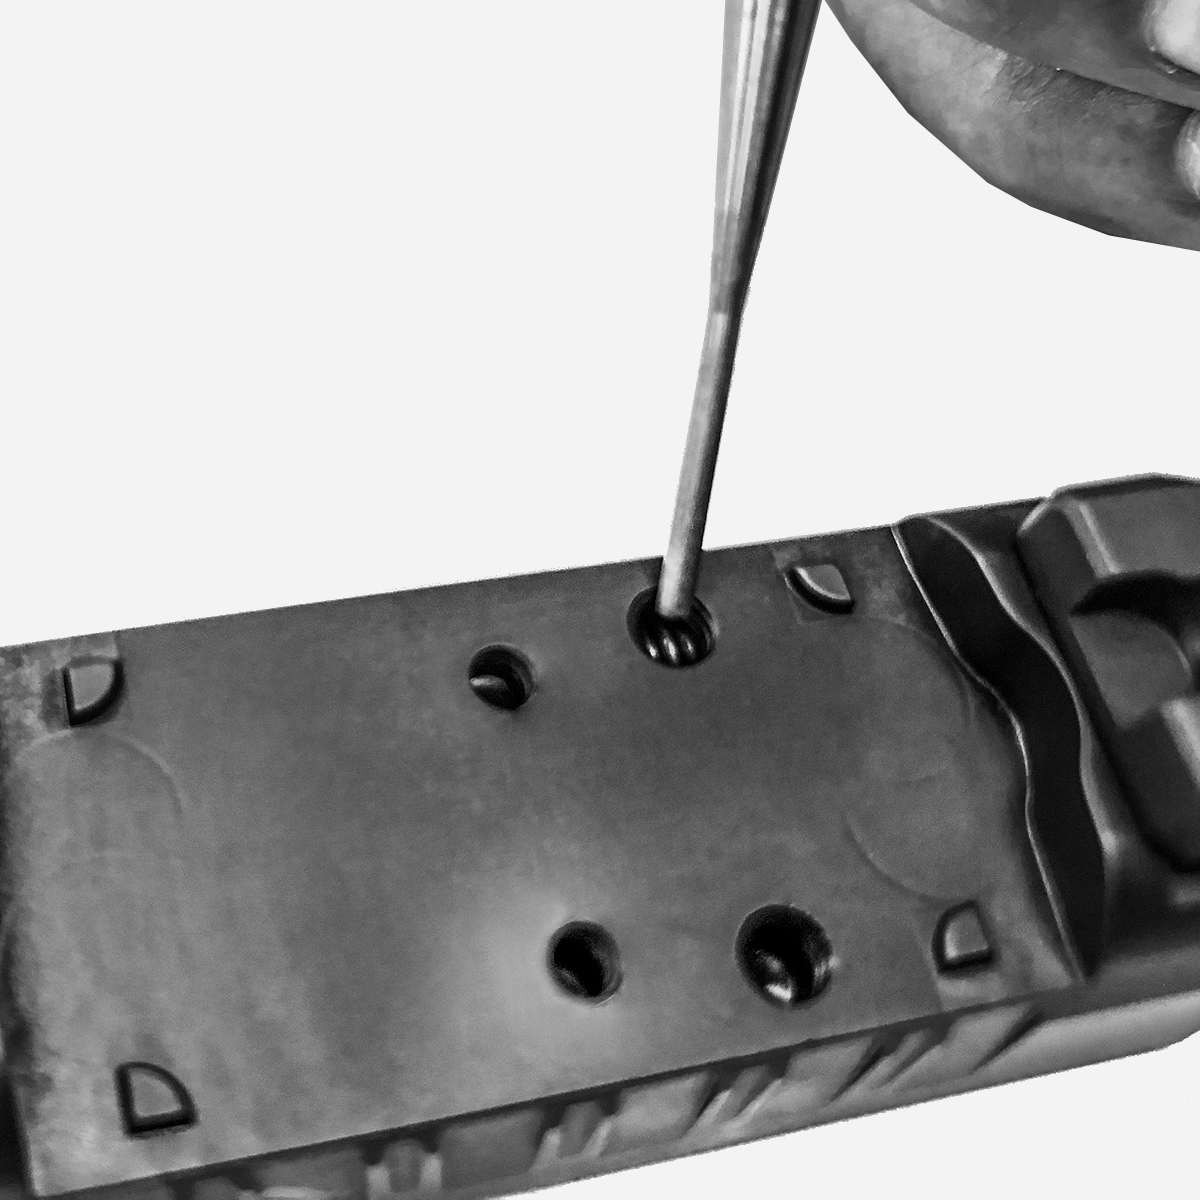
To remove the filler plate simply use the provided T-10 wrench and remove the three M3 anchoring screws (Figure 34-1). Keep these screws with the filler plate.
Choose the correct mounting plate for your red dot sight. First test fit the sight to the mounting plate with the screws provided with your red dot sight. Make sure that the screws do not protrude below the bottom surface of the mounting plate. If they do, the screws must be shortened until they are slightly above the bottom surface of the plate.
Once the test fitting is successful remove the sight from the plate and install the plate with the three M3 provided screws (Figure 34-2). If needed apply removable thread locking compound such as Loctite 242 to insure the mounting screws remain tight.
Installation is now complete.
Each mounting plate is optimized for a specific red dot sight. Other sights may fit some plates but will require sight mounting screws with the same thread pitch as the mount incorporates.
STEP 1: Using The provided T 10 six point key, remove 3 screws that retain the OSP™ Cover Plate (Figure 35-1).
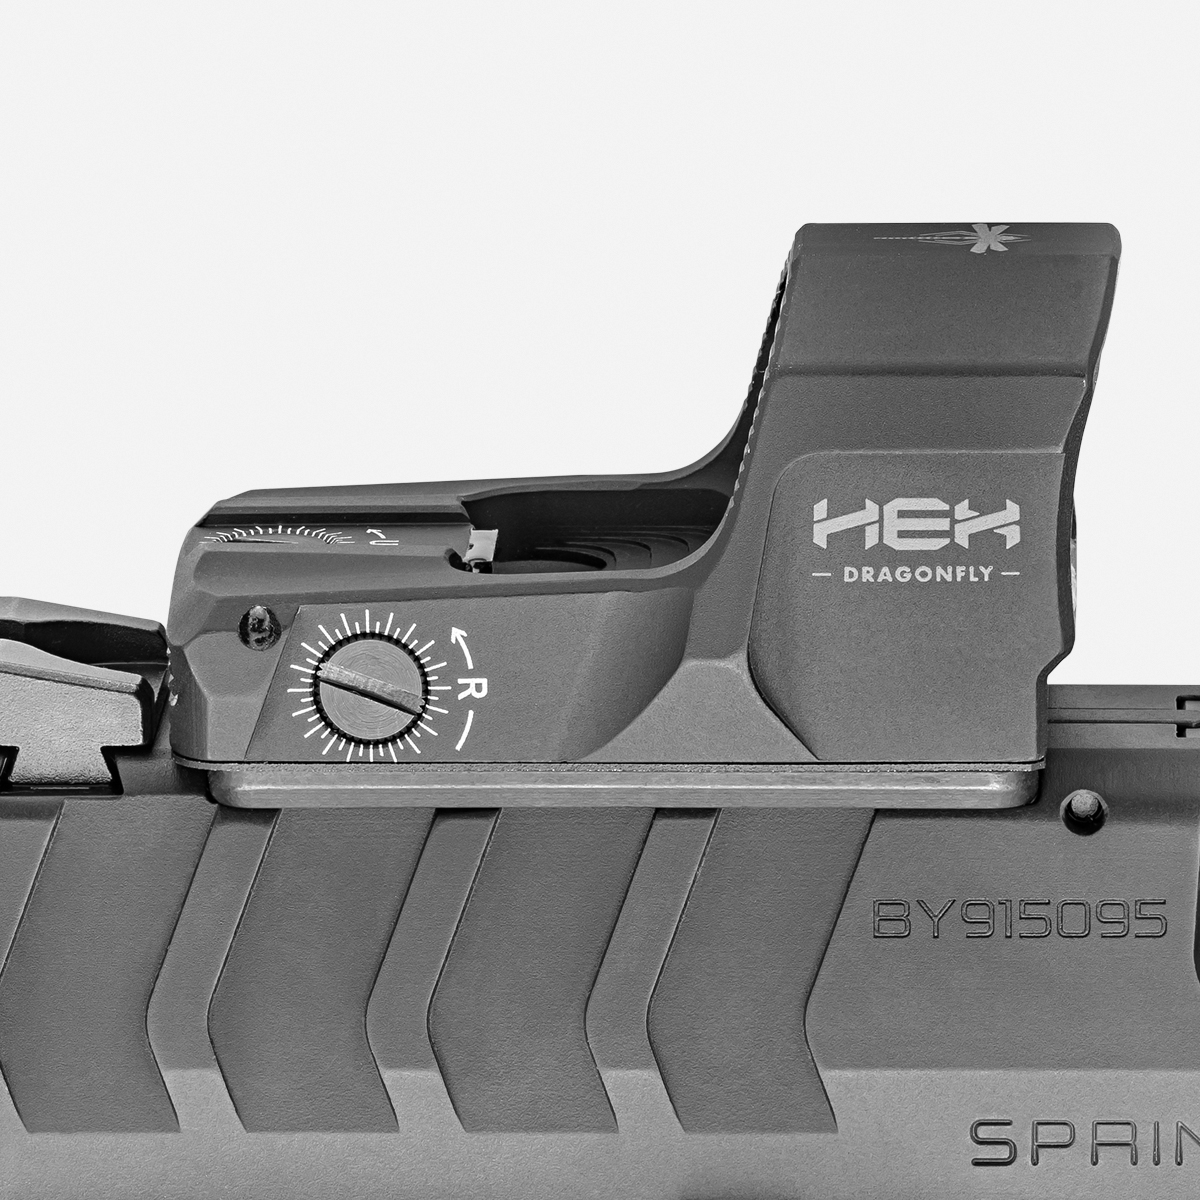
STEP 2: Install the optics plate, specific for your sight application, to the slide with the 3 screws from step #1 (Figure 35-2).
STEP 3: Install the optic with 6-48 screws (Figure 35-3).
STEP 4: If you chose to use a thread locking compound, use sparingly and on screws only. Using too much thread locker can foul mechanism (Figure 35-4).
NOTE: Screws for optic may require shortening. Screws cannot protrude more than 0.095” (2.4mm) from the bottom of the sight system (Figure 35-5).
NOTE: After installation of your optic, test fire to verify proper function.
NOTE: Be aware of design differences in Optics Ready platforms and mounting plates, and possible variations of installation screws, such as, thread pitch, length, head geometry, etc. Refer to manufacturer’s instructions for details.


14 reviews for xdm elite 9mm